Maintenance
Updated on 10.03.2026
In this guide
1

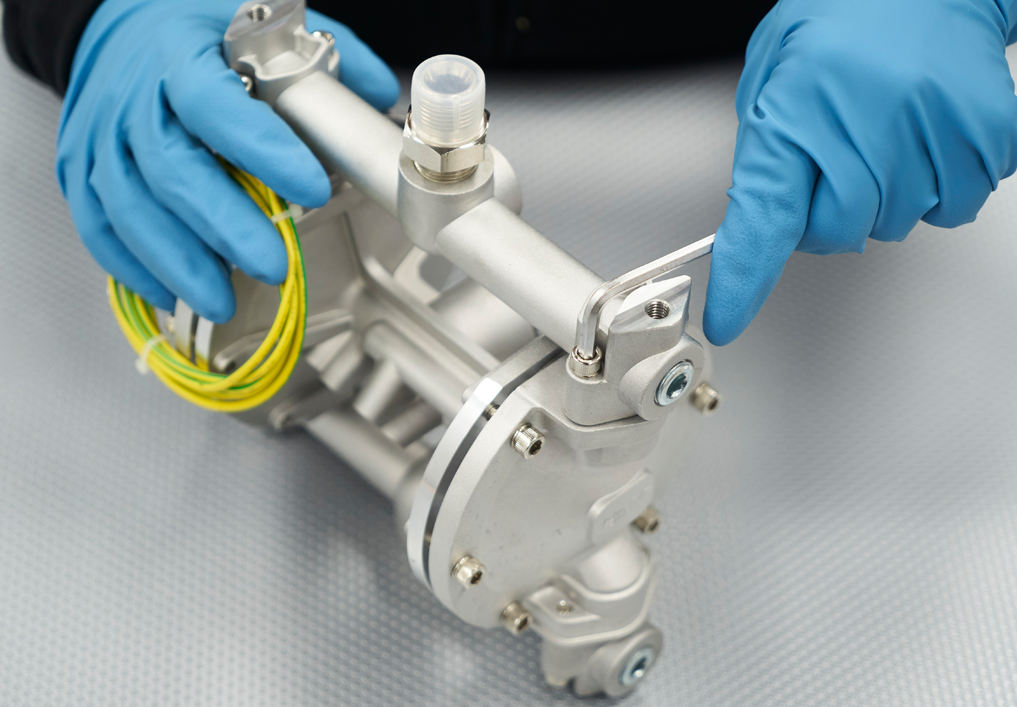
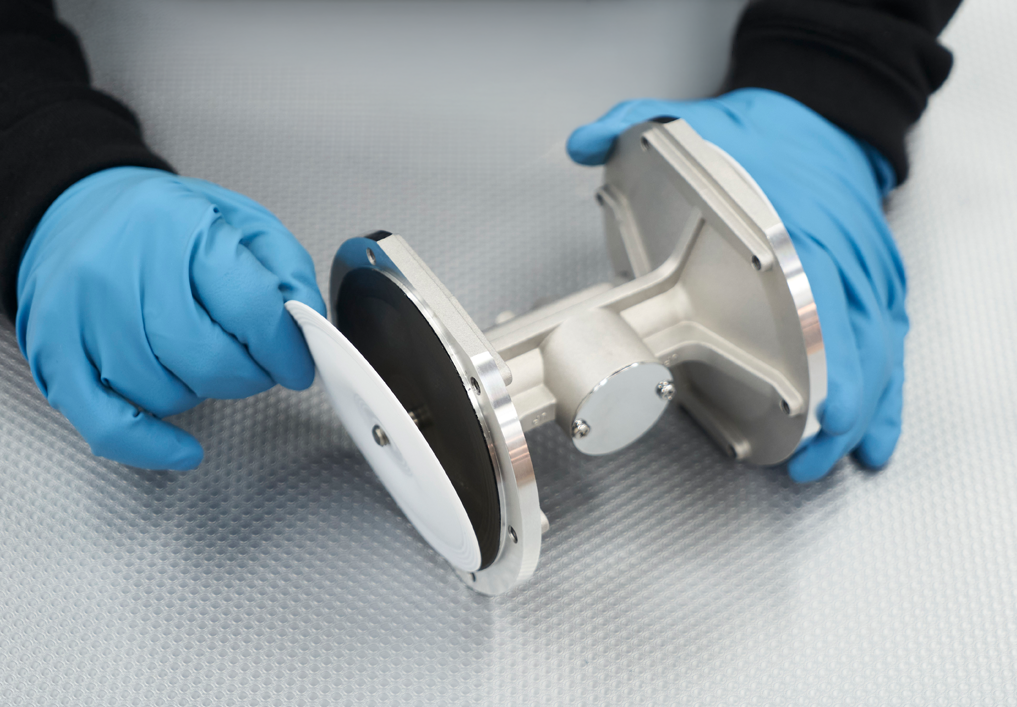
1. AIR OPERATING VALVE DISASSEMBLY
- To disassembly the Air Operating Valve, remove the two Hex. Fixing Bolts by using a 4 mm Allen Key.
- Remove all 4 O-rings from their seats and replace them if they are worn or deformed.
2
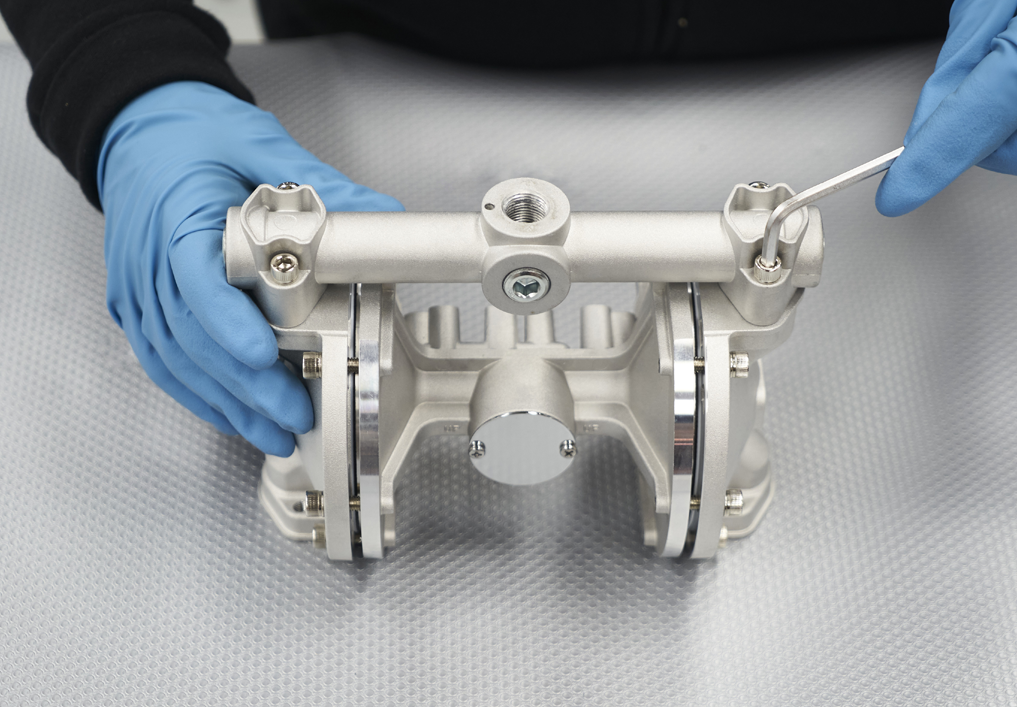
2. DISASSEMBLY of PUMP SUCTION SIDE
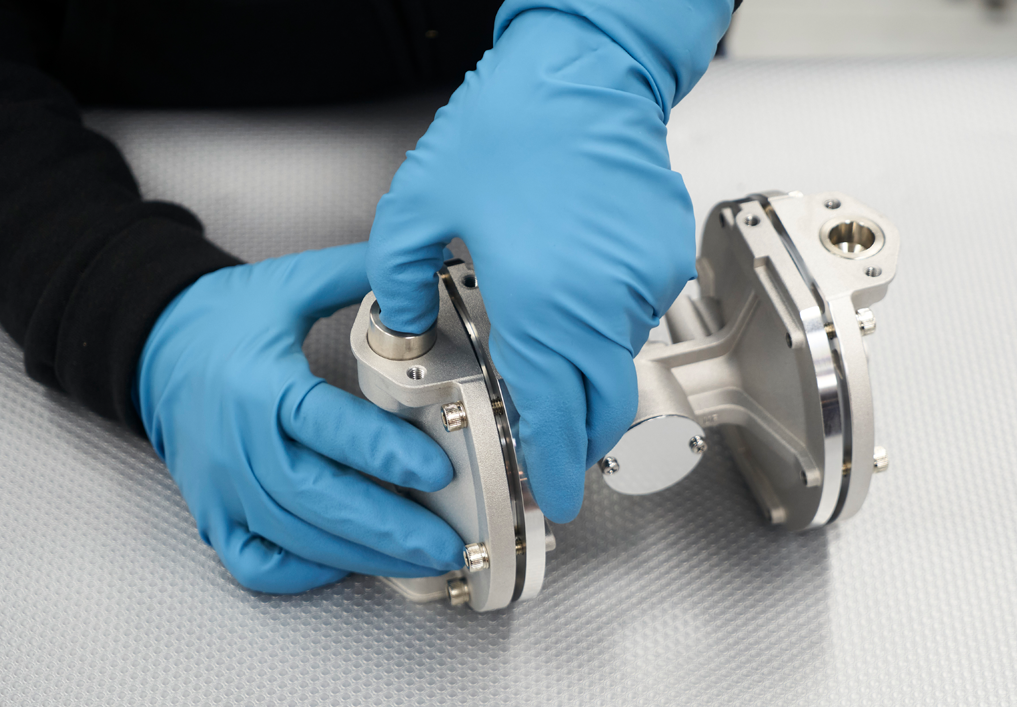
- Reverse the main body and proceed with the Lower Adaptor disassembly. (on the SUCTION SIDE of the Pump)
- To remove the Lower Adaptor, loosen the 4 Hex. Socket Bolts by using a 5 mm Allen Key and unscrew them by hand.
- Dissemble the Lower Adaptor from its seat. (on the SUCTION SIDE of the Pump)
- Carefully extract the two Intake Valve Packings from their housings. (on the SUCTION SIDE of the Pump)
3
3. DISASSEMBLY of PUMP DELIVERY SIDE
- Reverse the main body to the opposite side (DELIVERY SIDE) and proceed with the disassembly of the Upper Adaptor by loosening the 4 Hex. Socket Bolts by a 5 mm Allen Key.
- After removing the all the Hex. Socket Bolts, dissemble the Upper Adaptor from its seat. (DELIVERY SIDE)
4
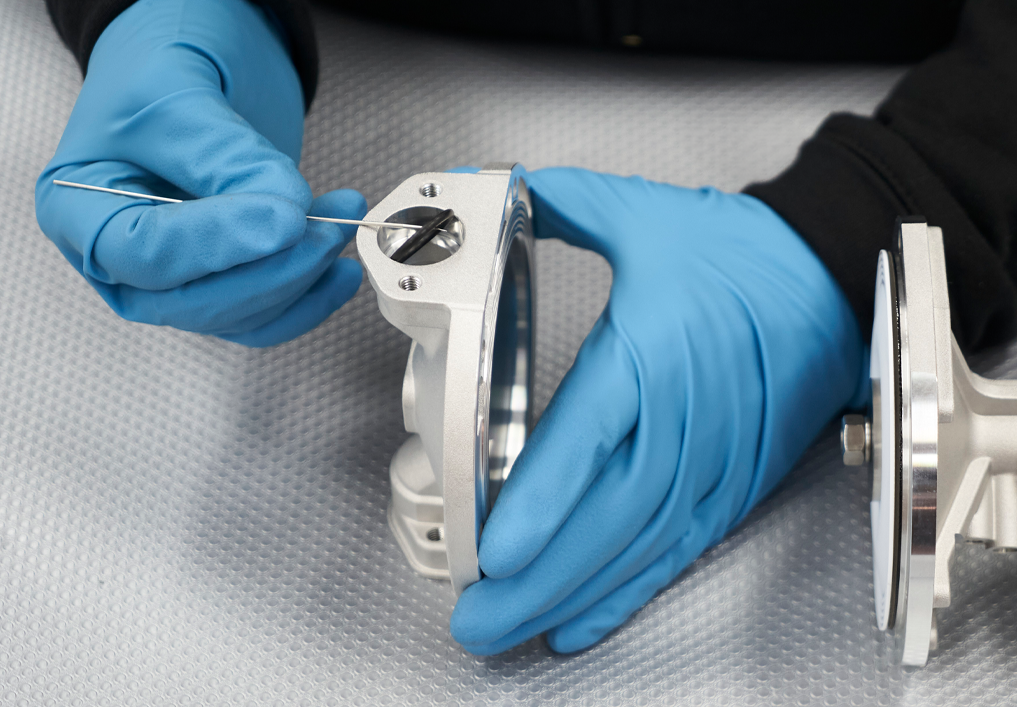
4. DISASSEMBLY of the EXHAUST VALVES
- Carefully extract the two Exhaust Valve Packings from their housings.
- Turn over the pump body to allow the disengage of the balls from the Exhaust Valves seats, ensuring they don’t fall to prevent damage.
- After taking out the balls, disassemble the Exhaust Valves by pulling up them with your finger.
- Carefully remove the Exhaust Valves O’ring from their seats.
- Now proceed with the disassembly of the lids by loosening the 6 Hex. Socket Bolts from both sides of the main body, by a 5 mm Allen Key.
5
5. DISASSEMBLY of the INTAKE VALVES
- Carefully remove the Intake Valves O’ring from their seats.
- Press down the ball with a screw driver by using stopper of the lid to remove the Intake Valves and the Balls from the lids.
6
6. DIAPHRAGM SETS DISASSEMBLY
- Remove the Hex. Nut by loosening it by a 13 mm wrench.
- Remove the Hex. Nut and the Spring Washer.
- Remove the Diaphragm Holder (OUTER) and the O’ring.
- Remove the Diaphragm (OUT) in PFTE.
- Remove the Diaphragm (IN) in Rubber.
- Remove the Diaphragm Holder (INNER).
- Press lightly on the main body to disengage the rod from its housing.
- Pull out the Rod from its seat.
- Hold flat face of center of the rod with a 12 mm spanner, and loosen the Nut with a 13mm spanner on the side where the diphragm has not been removed yet.
- Proceed with the disassembly of the Hex. Nut, and the Spring Washer.
- Afterwards with the disassembly of the Diaphragm Holder (OUTER), the O’ring, the Diaphragm (OUT) in PTFE, the Diaphragm (IN) in Rubber, the Diaphragm Holder (INNER) and the Rod.
7
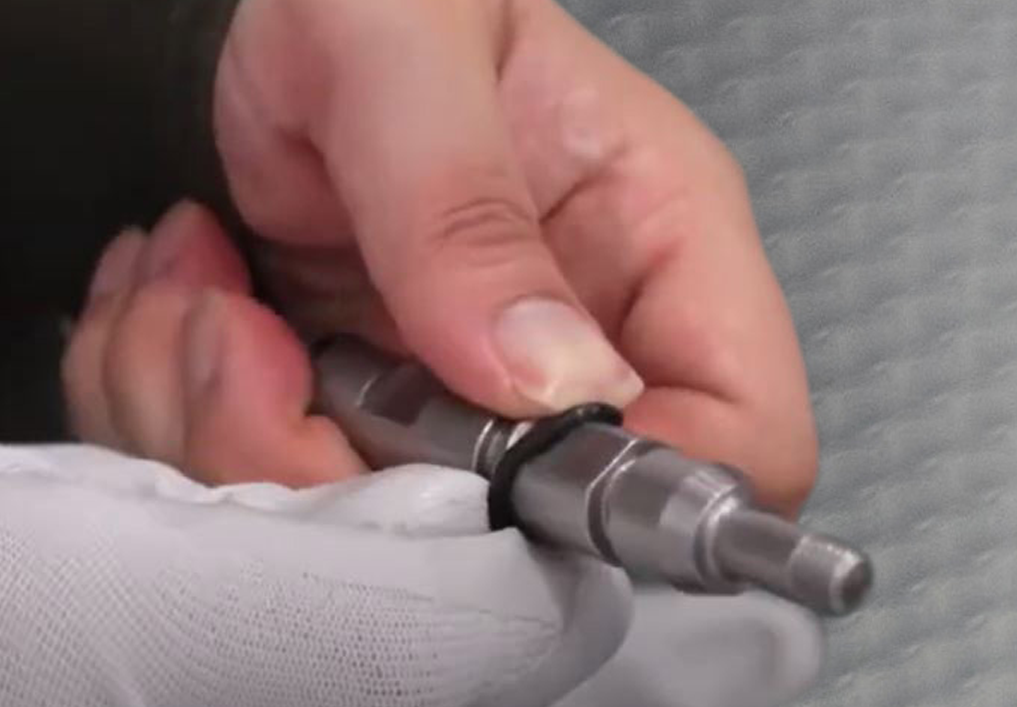
7. “Y” PACKINGS & O’RINGS DISASSEMBLY
- Remove the “Y” packings on both sides of the Rod by sliding out them by hand….
- …..and the “O-rings” on both sides of the Rod by sliding out them by hand.
- During the assembling, place the “Y” packings to the direction that they open outward.
- Pay attention to the assembly direction of the “Y” Packings”.
- After replacing all the “Y” packings, lubricate their grooves and the O-rings with lithium grease.