Installation
Updated on 09.03.2026
In this guide
1
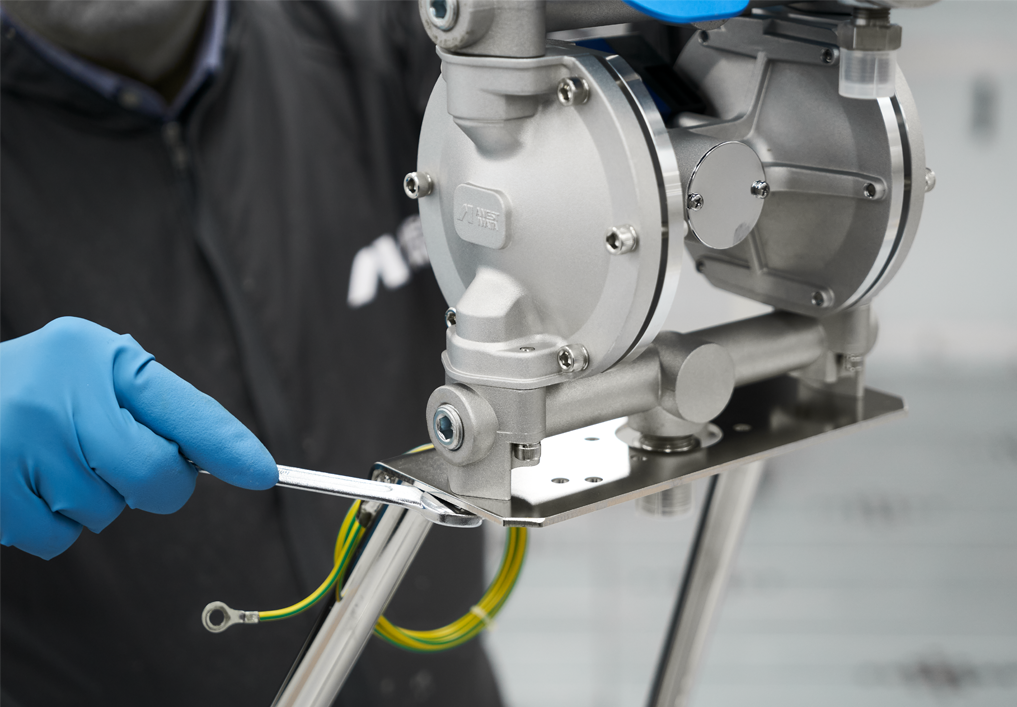
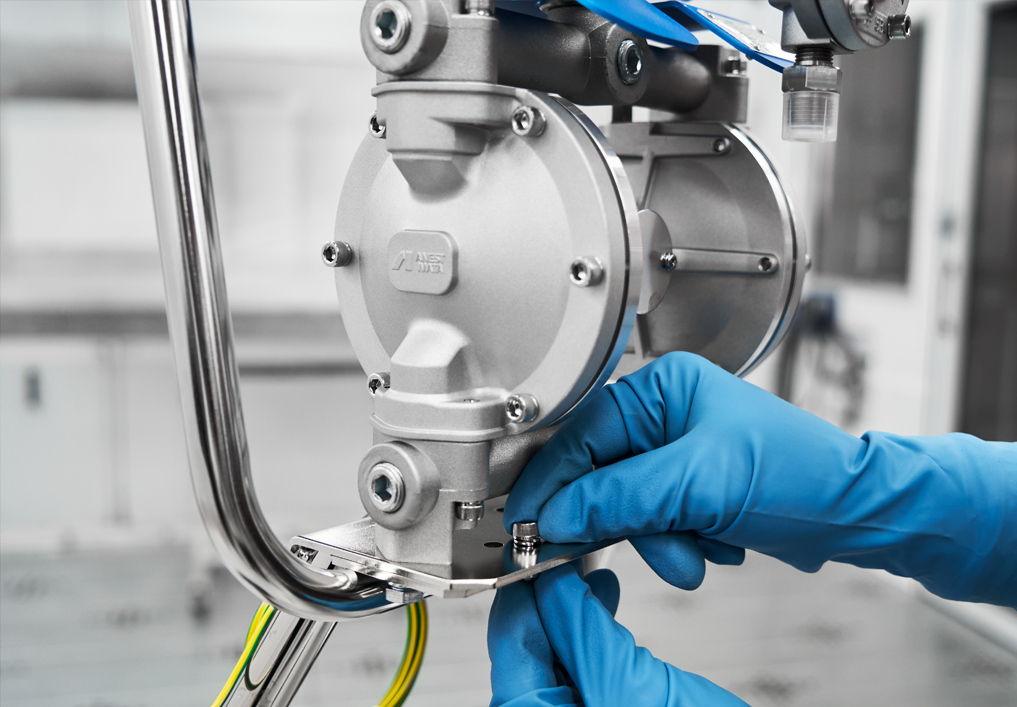
1. INSTALLATION ON STAND
- Disassemble the pump body from the support by removing the Hex head screws (M8).
- Flip the stand upside down and reinstall the pump body in the correct position on its support, tightening the Hex head screws (M8) securely by using a proper open-end wrench.
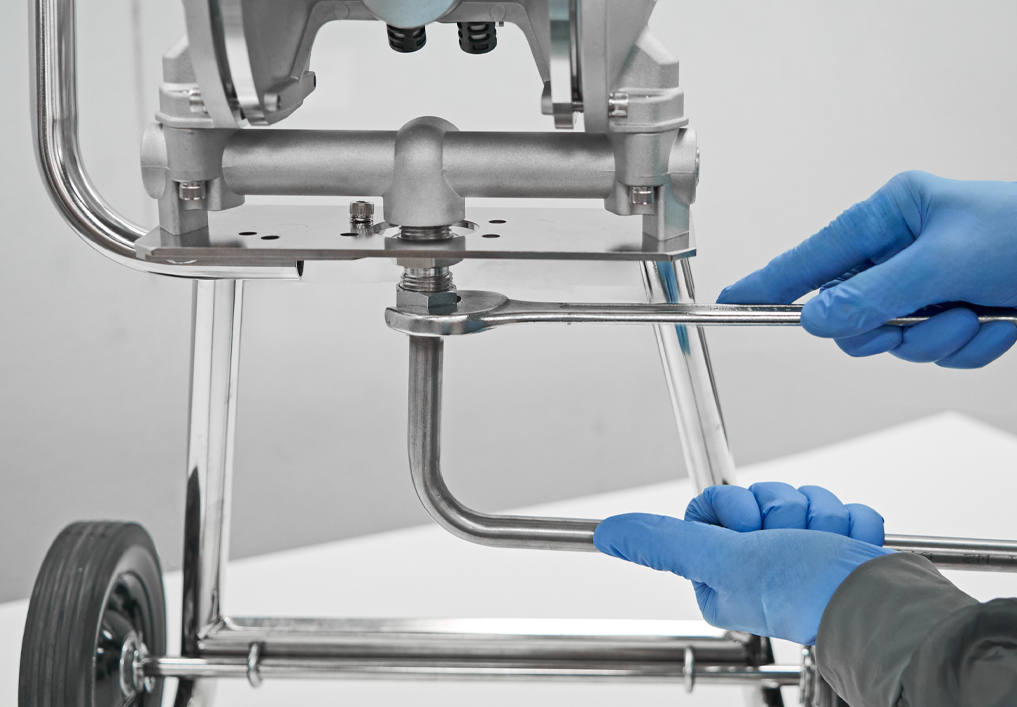
- For the stand-mounted version, securely fasten the pump to the ground by screwing the fixing bolt into the designated hole on the stand.
- Always remove all dust caps present on the pump fittings, installed during the pump assembly phase. Keep them for possible future use, such as during storage, in order to preserve the integrity of the fitting threads.
- Connect the suction hose to the pump’s paint supply joint. Once connected, securely tighten it using an open-end wrench
- Connect the drain hose to the 2-way valve for paint recirculation. Once connected, securely tighten it using an open-end wrench. Fasten the drain hose to the suction hose with clamps at the three designated points.
2
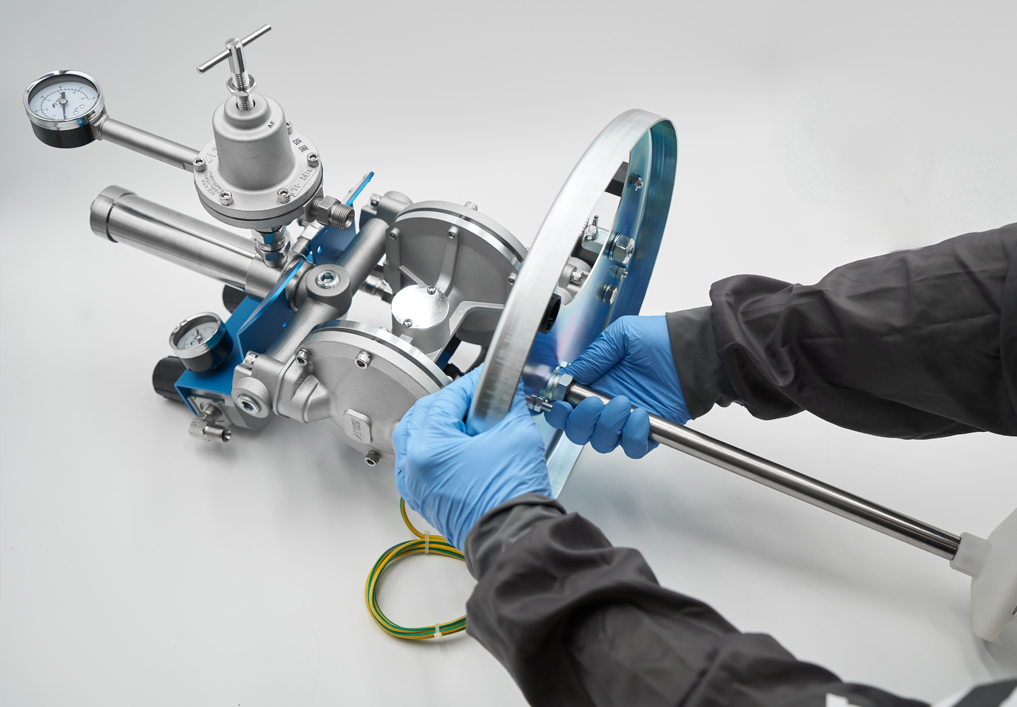
2. INSTALLATION ON CART
- Place one of the washers included in the set onto the wheel axle, then insert the axle through the central hole of the rigid wheel.
- On the other side of the axle, insert another washer.
- Place both washers against the wheel on the inner and outer sides, then secure them by inserting the pins into the corresponding holes on the axle. Repeat the same procedure for assembling the second wheel. WARNING: Insert the pins and press firmly until you hear a click, confirming that they are properly locked in place.
- Once the wheels have been assembled onto the axle, install the entire set onto the stand, by securing it with the two U-bolts. The U-bolts must pass through the holes in the stand bracket and be securely fastened by tightening the nuts at both ends.
- Unscrew the M8 hex head screw from the pump’s lower adaptor and use it to attach the handle to the support, ensuring the holes on both the support and the adaptor are properly aligned.
- To ensure a stable and balanced attachment of the handle to the pump support, insert the M6 hex socket head screw through the support and tighten it securely using an open-end wrench.
3
3. INSTALLATION ON CART with HOPPER SET
- Connect the hopper’s U-shaped hose to the pump’s paint inlet joint and securely tighten it using a proper open-end wrench.
- Connect the drain hose to the fitting of the two-way valve for paint recirculation located on the outlet paint filter, and firmly tighten it by using a proper open-end wrench.
- Securely screw the hopper set onto the fitting of the U-shaped hose.
- Fit the drain hose into the designated hole on the hopper lid, making sure the fitting is stable.
4
4. INSTALLATION ON TANK LID
- Properly place the pump body to align the holes of the lower adaptor with those on the lid intended for the fastening screws. Once the correct alignment is verified, secure the pump body using M8 hex head screws, tightening them with a proper open-end wrench.
- Connect the suction hose set to the pump’s paint inlet joint. Once connected, firmly tighten it by using a proper open-end wrench.
- Fit the refill cap into its seat.
- Connect the drain hose to the 2-way valve for paint recirculation.
- Insert the rigid section of the drain hose into the designated housing on the lid.
- Secure the rigid part of the drain hose by tightening the clamp nut until fully locked.
5
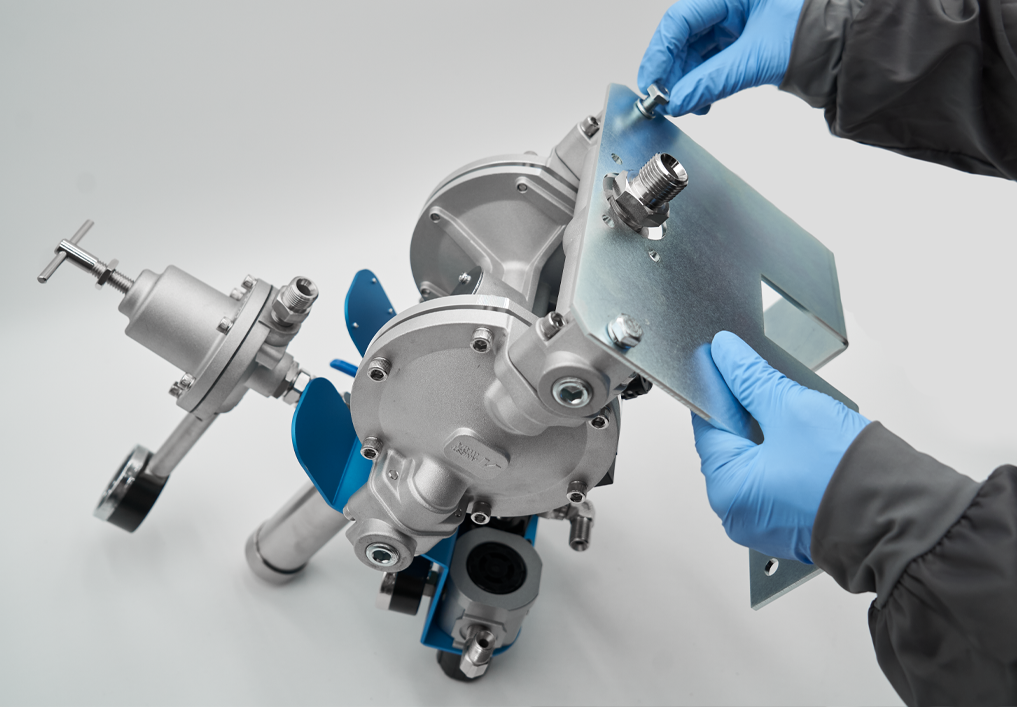
5. INSTALLATION ON WALL BRACKET
- Disassemble the pump assembly from the wall bracket by removing the hex head screws (M8). Flip the bracket and reassemble the pump body so that the holes on the lower manifold align with those on the bracket. Once proper alignment is confirmed, secure the pump body using the hex head screws (M8), tightening them with a proper open-end wrench.
- Connect the suction hose to the pump’s paint inlet joint. Once connected, securely tighten it using a proper open-end wrench.
- Connect the drain hose to the 2-way valve for paint recirculation. Once connected, firmly tighten it using a proper open-end wrench.
Fasten the drain hose to the suction hose using clamps (at the 3 desired points).